

I really like to make the nap mats out of flannel, especially the blanket. On Black Friday my sister and I braved JoAnn's Fabrics to get flannel for $1.29 a yard. It is normally $4.99 a yard. We got our number when we got to the store at 8:00 am and then began to shop. We finally got to START cutting 3 hours later. It was a madhouse. My sister decided to buy me fabric for Christmas. We bought 100 yards of flannel!
For each mat you need:
- 1 and 1/2 yards of one fabric. I like the print for this.
- 2 yards of a coordinating fabric.
- a piece of 1" washable foam at least 19"x38". I usually buy the king size piece from Hobby Lobby with the 40% off coupon. Cut this in fourths and you will have the exact size you need.
- 2 buttons
- 20" of 1" elastic
- polyester fiberfill.


Now take the coordinating fabric and cut 2 -36" squares. With the left over fabric, cut a piece 4"x 36" and make a casing for the elastic. I put the seam down the middle and place it on the right side of the pattern material. Measure up 10" from the corner nearest the tabs and sew the elastic handle.

Sew 3 sides of the 36" square together, turn and top stitch to make the blanket.


Put the piece of 1" foam into the pocket, making sure it is all the way down into the corners by the tabs. Sew across the mat close to the top of the foam to hold it in place. This will be about 10" from the open end. Make another stabilizing stitch across the mat under the strap or about 10" up from the tabs. Make one more stitch across in the middle or about 15" in from the other lines. These stitch lines will keep the foam from twisting in the washing machine. My son found this out the hard way. That's what happens when you get the prototype. They have since gotten a new and improved model.

Top stitch the open end together, leaving a small opening in the middle to stuff the pillow. After the pillow is full of fiber fill, sew it together. Fold the blanket on the mat and start rolling from the pillow end.


Measure where the buttons should be placed and sew them on. Now you mat is finished.


We were featured!

Check it out!!!
That turned out really cute. Sewing projects always intimidate me the most. My little girl is not much of a napper but a mother can always hope!
ReplyDeleteHow adorable! :)
ReplyDeleteThese are so great! I made something similar when my kiddos were younger but not as cute as yours!! Great job =D
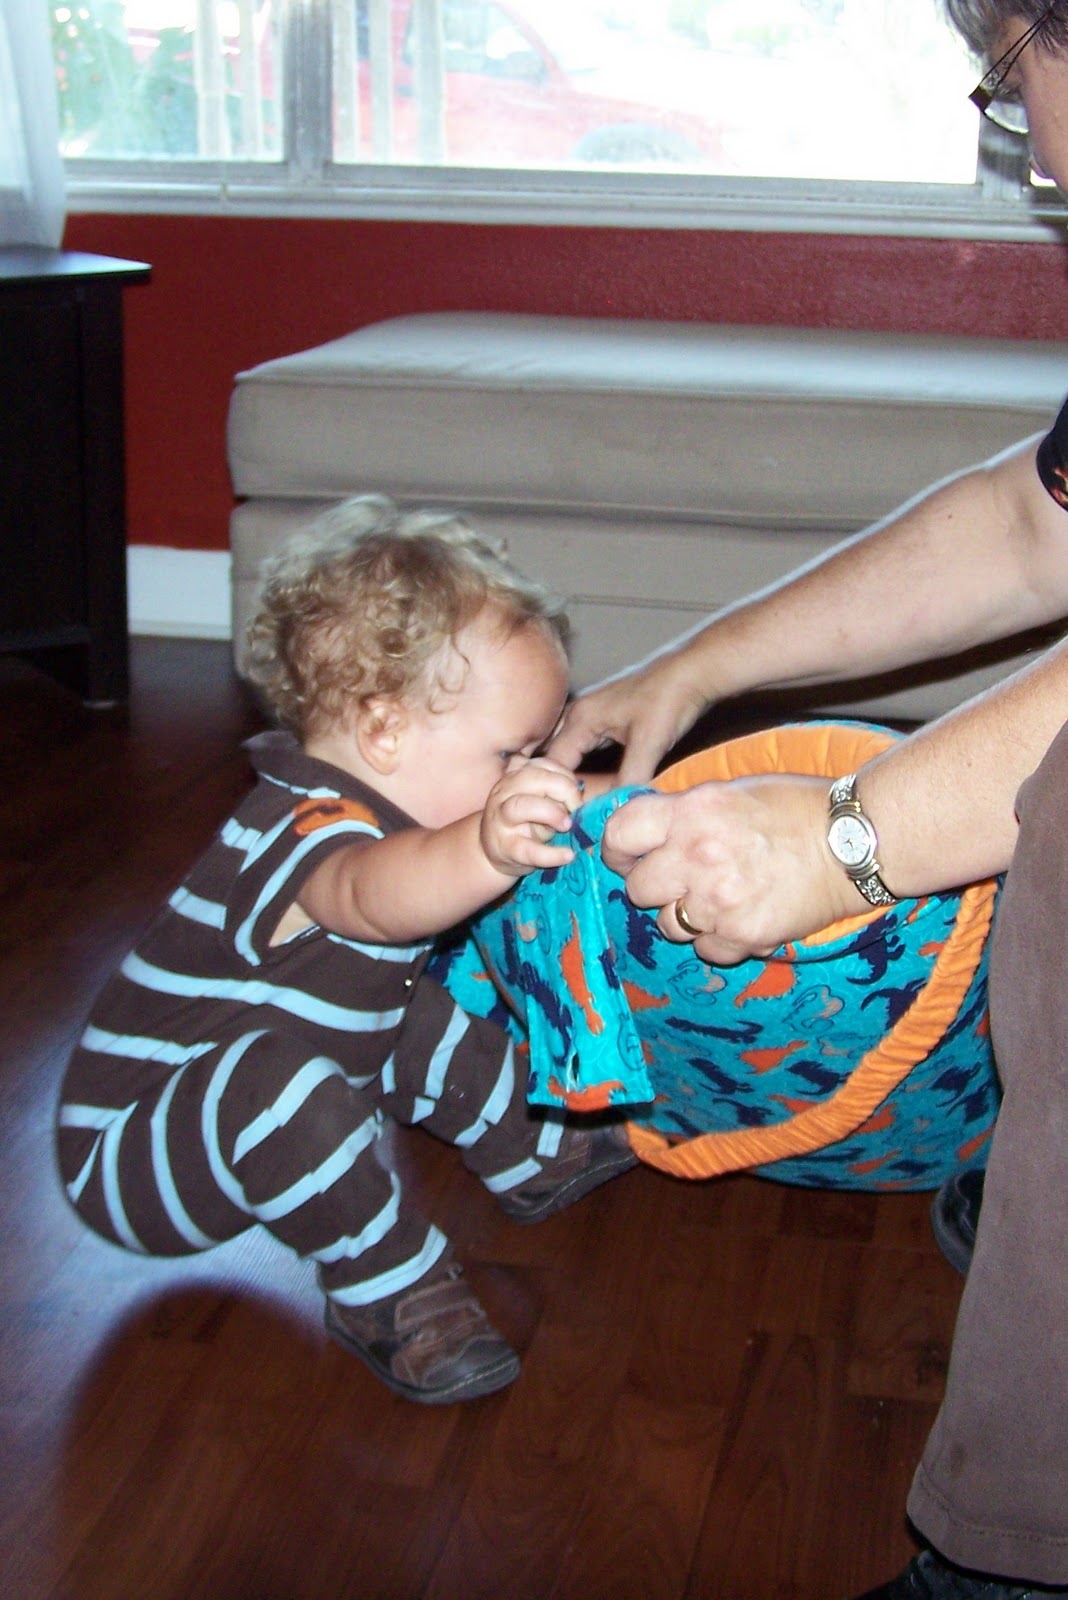
ReplyDeleteWhat a nice job, your grandson certainly seems to like his! You are brave women for going to JoAnns.!
ReplyDeleteThis is so cute! Following.
ReplyDeleteOh so cute and the baby is even cuter!...Christine
ReplyDeleteHello Melanie! Thank you for linking your post to Masterpiece Monday, Your napping mat rules! Mary :O)
ReplyDelete